How to set up your client portal
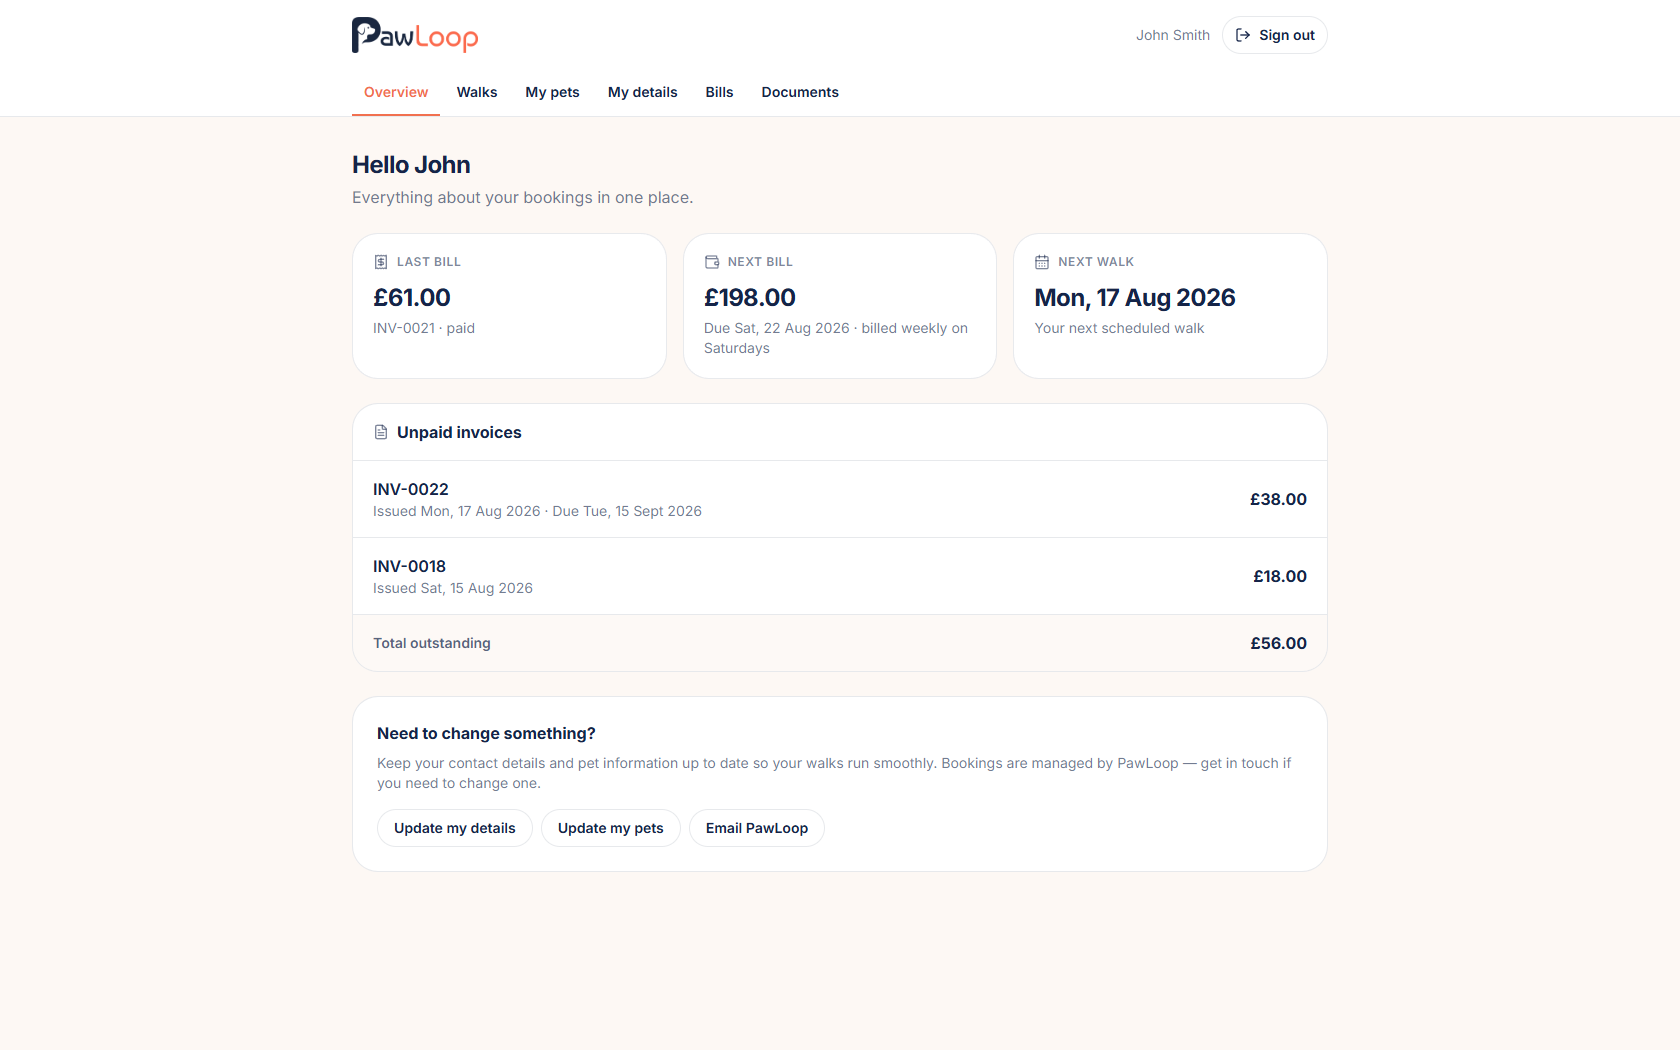
The client portal lets your clients sign in to see their walks, boarding, pets, invoices and documents. Here's how to switch it on and set it up before you start inviting people.
Open the Client portal tab
Go to Settings, then select the Client portal tab. This is where the master switch and all portal settings live.
Turn on the client portal
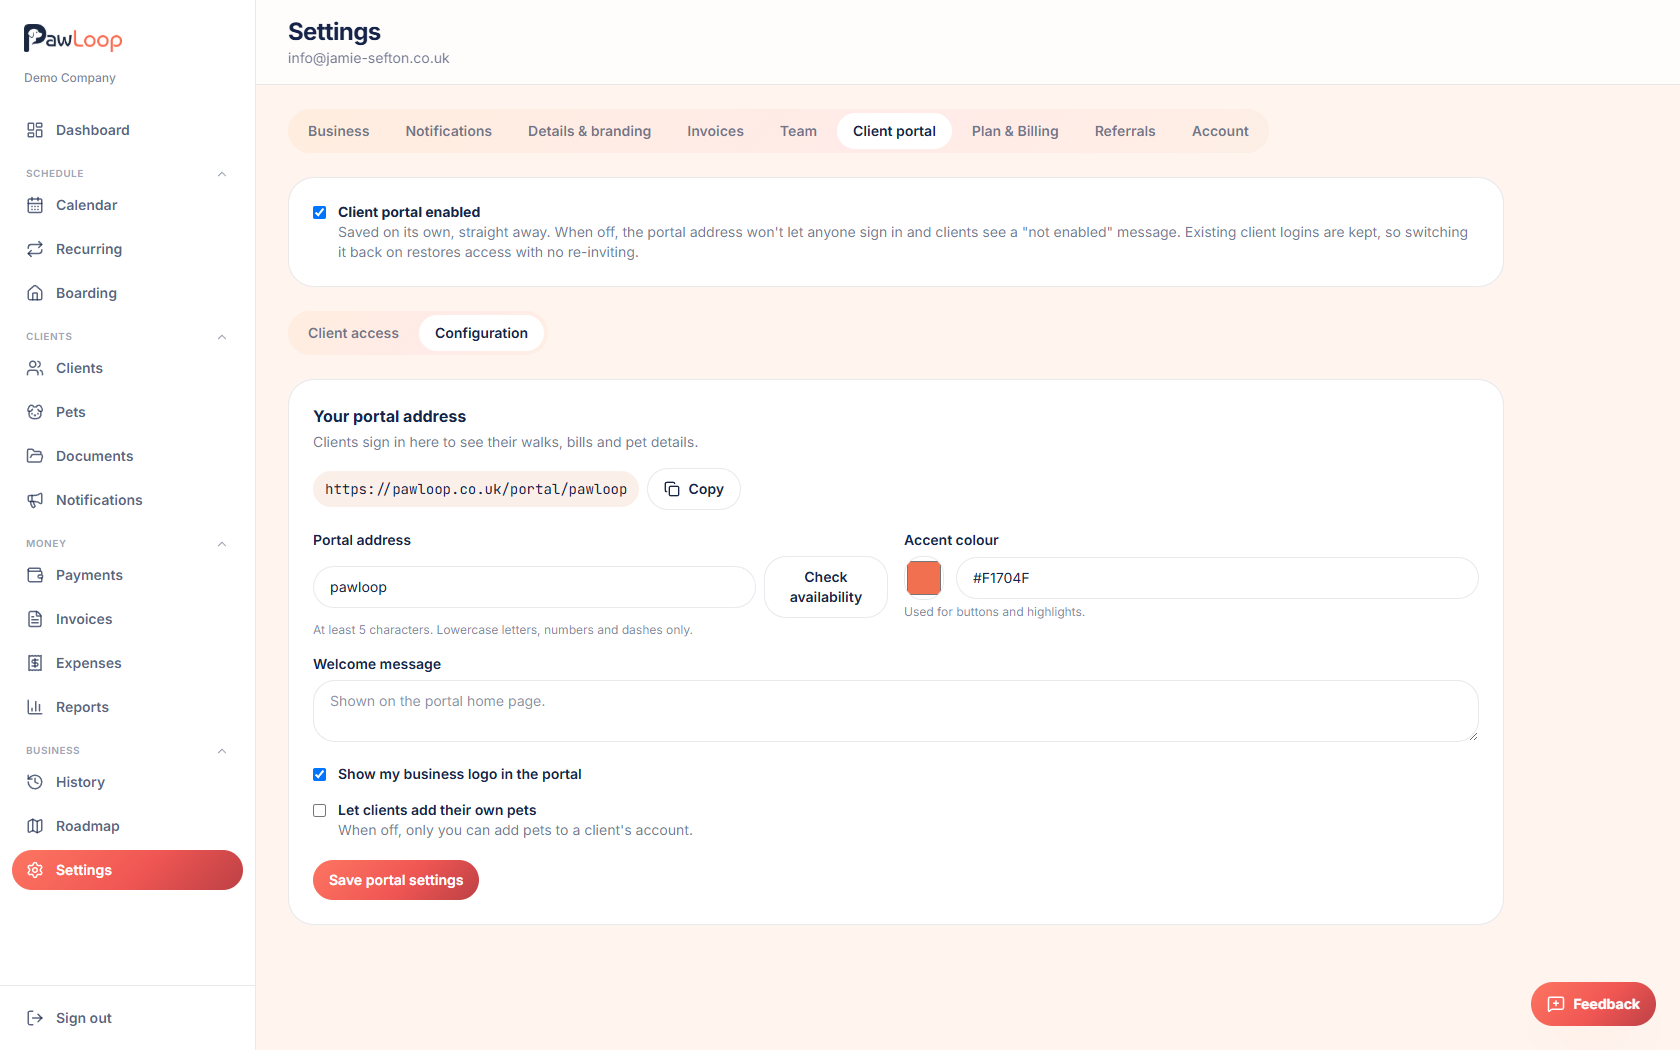
Tick the Client portal enabled checkbox at the top of the page. This saves straight away. You don't need to press anything else for it to take effect.
When it's off, your portal address won't let anyone sign in and clients see a "not enabled" message. Existing client logins are kept, so switching it back on restores access without re-inviting anyone.
Choose your portal address
Switch to the Configuration sub-tab. Under Your portal address, type the web address you want clients to use, then select Check availability to make sure it's free.
- At least 5 characters
- Lowercase letters, numbers and dashes only
- Must start and end with a letter or number
Set your accent colour and welcome message
Still in Configuration, pick an accent colour for buttons and highlights, and write a welcome message that appears on the portal home page.
Tick Show my business logo in the portal if you want your logo to appear there too.
Decide whether clients can add their own pets
Tick or leave unticked Let clients add their own pets. This is off by default, so only you can add pets to a client's account until you turn it on.
Save your portal settings
Select Save portal settings to store your address, colour, welcome message and pet-adding preference.
Preview the portal before inviting anyone
Go back to the Client access sub-tab, find a client who has already joined, and select Log in as to open their portal exactly as they see it. This is a good way to check your branding and message before sending invites.
Try it yourself
Everything in this guide is included from the free Starter plan upwards. Set up in minutes. No card required.
Create free account. No card required →Frequently asked questions
Related guides
Create your free PawLoop account today.
Sign up in minutes and try every feature free. PawLoop starts with a 14-day free trial. Every feature included and no payment card required to sign up. Choose a plan when your trial ends.
Start free trialNo spam. No card. Just a free pass to try PawLoop.