How to store and share documents
The Documents page is a central place to keep files like welcome packs, insurance certificates and contracts, then share the right ones with the right clients, make them visible to every client, or keep them private to your team.
Open Documents
Go to Documents in the sidebar. You'll see every file that's been uploaded, with its type, size and the date it was added.
Upload a document
Click Upload document, choose the file and give it a title and optional description.
Decide who can see it: leave it private, tick Visible to team so all walkers can see it, tick Visible to all clients so every client can see it, or link it to one or more specific clients straight away.
Filter and search your documents
Use the search box to find a document by title, description or file name, or use the filter dropdown to show only Private only, Shared with clients, Visible to team or Visible to all clients documents.
Link a document to a client
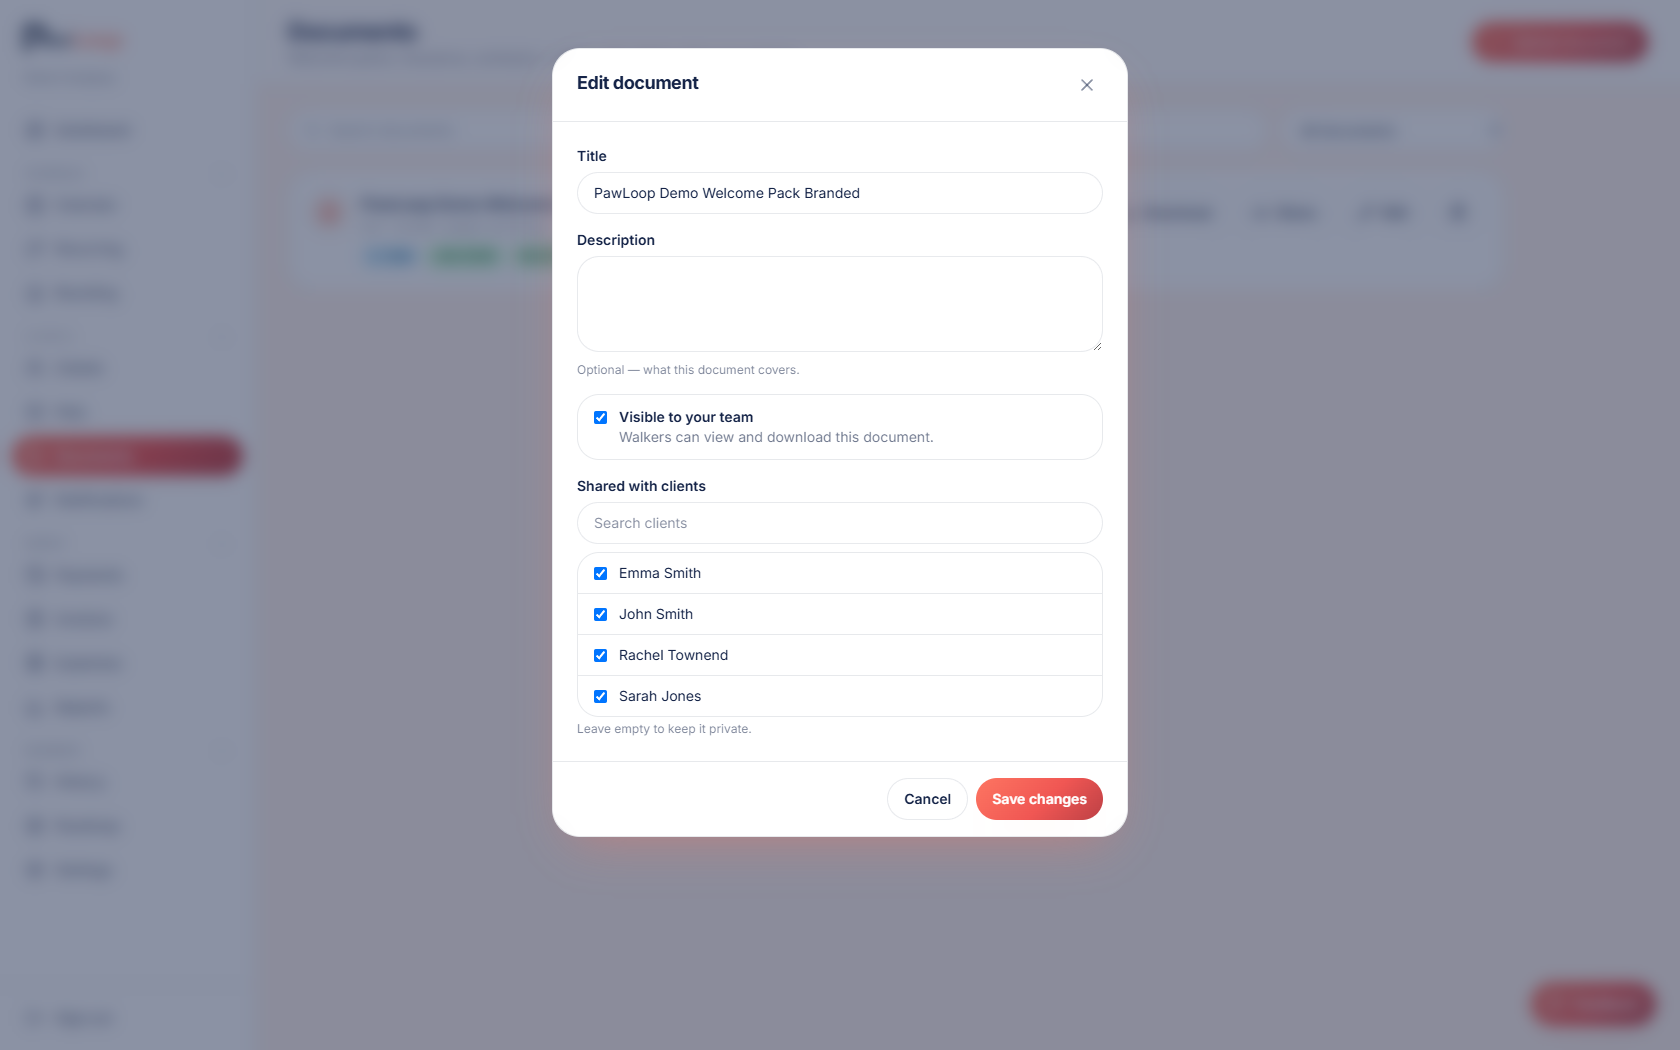
Click Edit on a document to add or remove the clients it's linked to. Documents marked Visible to all clients do not need to be linked individually: they appear for every client automatically.
You can also add documents directly from a client's own page under their Documents tab.
Share a linked document
Once a document is linked to at least one client, click Share, then pick the client to either Copy link. A secure link you can send yourself, or Email to send it straight to them from PawLoop.
Download or delete a document
Click Download to open the file, or the bin icon to delete it permanently. Deleting removes it for every client it was shared with.
Try it yourself
Everything in this guide is included from the free Starter plan upwards. Set up in minutes. No card required.
Create free account. No card required →Frequently asked questions
Related guides
Create your free PawLoop account today.
Sign up in minutes and try every feature free. PawLoop starts with a 14-day free trial. Every feature included and no payment card required to sign up. Choose a plan when your trial ends.
Start free trialNo spam. No card. Just a free pass to try PawLoop.