How to add a client
Every booking, pet and invoice in PawLoop starts with a client. Here's how to add one from the Clients page.
Open the Clients page
In the sidebar, select Clients. This shows every client you've added so far, along with their pets.
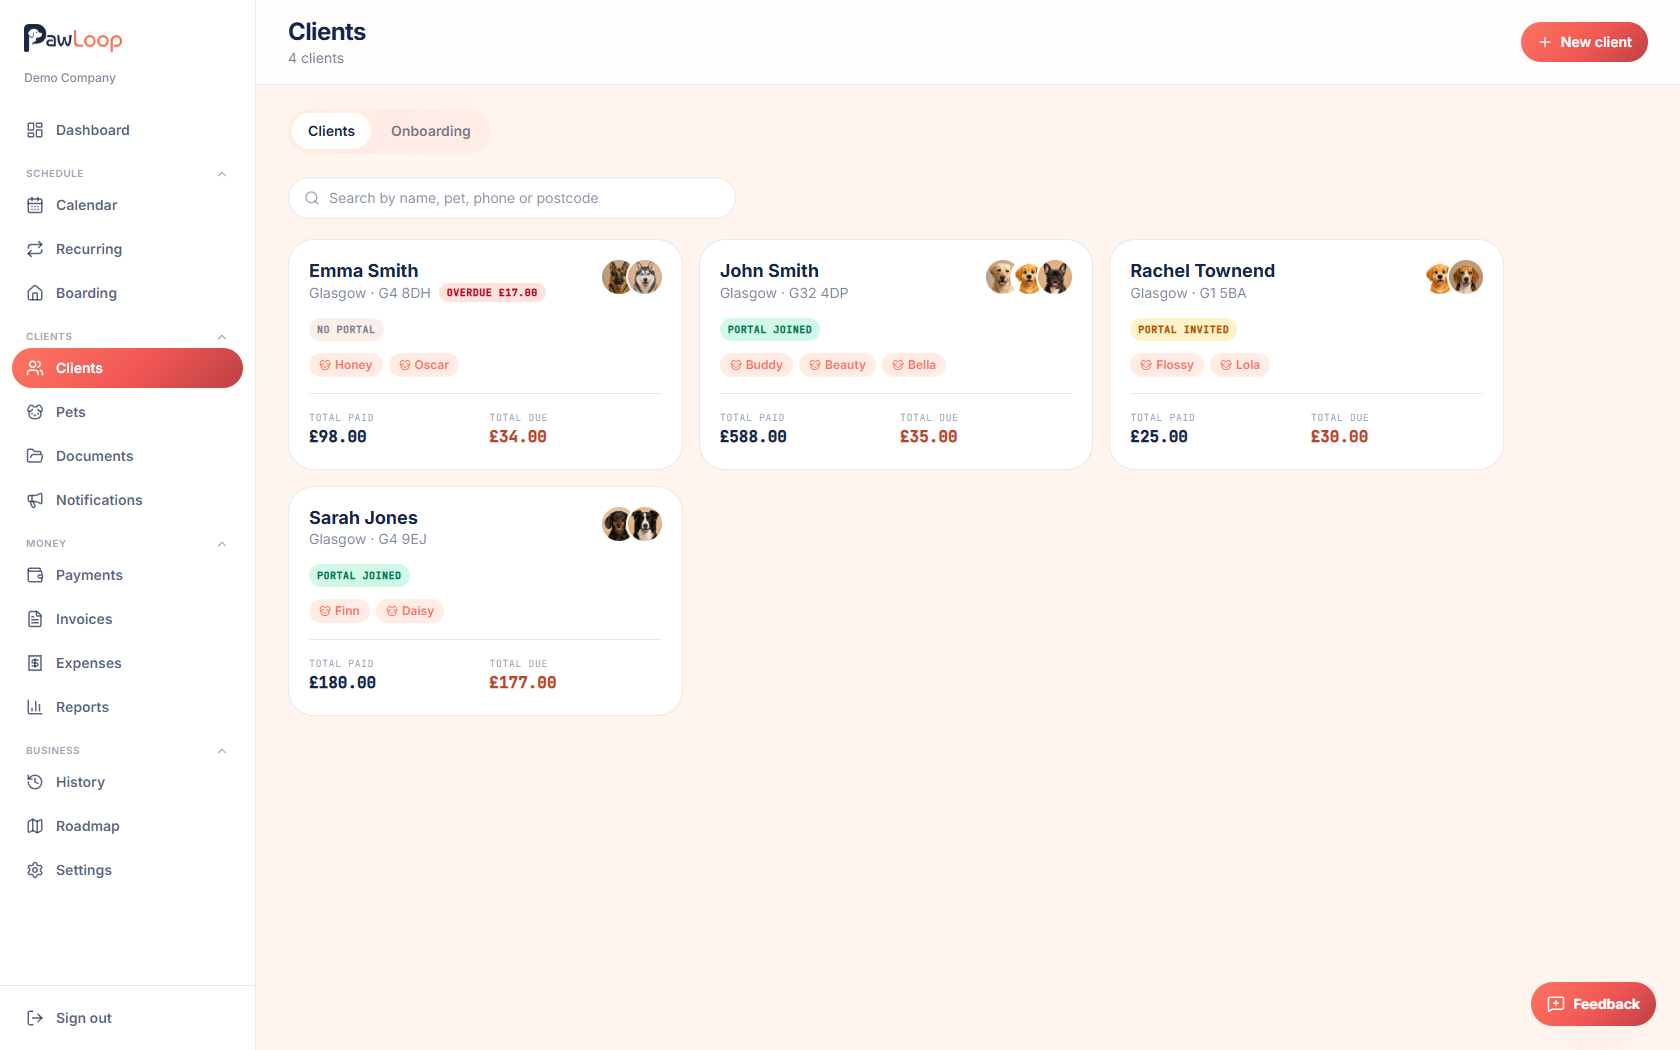
Select New client
Click the New client button near the top right. This opens the New client form.
Fill in their contact details
On the Details tab, enter their first name, last name, email and phone number. First name is the only required field.
Add their address
Switch to the Address tab and add their address line 1 and 2, town/city, county and postcode.
Use Access notes for key safe codes, gate instructions or where the lead lives, handy for anyone doing the walk.
Add care details
On the Care tab, record an emergency contact, vet name and phone number.
General notes here are internal only, clients never see these in the client portal.
Set billing and pricing (optional)
If you can see money in PawLoop, you'll also have Billing and Pricing tabs.
Use Billing to put this client on their own billing cycle instead of your business default.
Use Pricing to set custom prices per walk type for this client, anything left blank uses your standard walk type pricing.
Save the client
Click Save client. You'll see a confirmation and the new client appears in your Clients list straight away.
Try it yourself
Everything in this guide is included from the free Starter plan upwards. Set up in minutes. No card required.
Create free account. No card required →Frequently asked questions
Related guides
Create your free PawLoop account today.
Sign up in minutes and try every feature free. PawLoop starts with a 14-day free trial. Every feature included and no payment card required to sign up. Choose a plan when your trial ends.
Start free trialNo spam. No card. Just a free pass to try PawLoop.